Don’t Step on the Evidence!
A beginner’s guide to investigating tracks
There’s nothing quite like the thrill of stumbling across a potential Sasquatch track in the wild. Whether you’re deep in the forest or hiking a familiar trail, that sudden glimpse of an unusually large footprint can stop you in your tracks—literally. Before the adrenaline rush takes over, it’s crucial to slow down and investigate carefully. Proper documentation can mean the difference between a compelling find and a missed opportunity. Here’s a step-by-step guide for what to do when you think you’ve found something worth investigating.
1. Pause and Observe the Surrounding Area
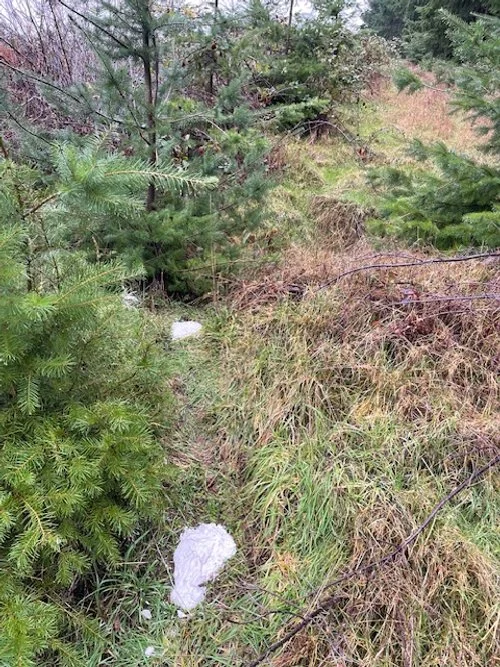
First things first: don’t rush in. As tempting as it is to get a closer look, take a moment to scan your surroundings. Look for other possible prints, trail patterns, or disturbances in the vegetation. Moving too quickly could accidentally destroy crucial evidence nearby. Try to mentally “freeze” the scene as it is and avoid stepping in or around the area until you've documented it. Keep in mind that if the track was created by a Sasquatch, the next track might be up to 5 or 6 feet away! If you’re lucky enough to find multiple potential tracks, place small, brightly-colored marking flags outside the track so you can get a better view of the trackway from a greater distance.
2. Photograph from All Angles
Once you’ve observed the area, begin documenting the track in detail. Use your phone or camera to take photos from multiple angles—overhead, from the side, and from different perspectives. Include a scale reference in your photos, like a ruler, tape measure, or even a dollar bill. But remember, boots make terrible measuring tools. Save them for walking, not photobombing cryptid evidence. Don’t forget to photograph the area around the track too. The more visual context you can provide, the better.
3. Use a LIDAR App (If Available)
If you have an Android or iOS device, apps like Scaniverse can create incredibly detailed 3D models of the track. These scans capture subtle depth and shape details that traditional photos might miss. Bonus: they’re easy to store, share, and revisit later for deeper analysis. Make sure to scan slowly and steadily from all angles, and double-check your lighting to ensure the track’s shape is clearly captured.
4. Make a Plaster Cast
If conditions allow, it’s time to make a plaster cast. Mix your casting material (plaster of Paris works well in the field) and pour it gently into the track, starting at one end and letting it fill naturally. Avoid scraping or smoothing the surface, as you could erase important detail. Let the cast set undisturbed, usually for 30–60 minutes depending on temperature and humidity.
5. Document Environmental Details While You Wait
While the plaster sets, take the opportunity to record the context of your find. Jot down:
Date and time
Track measurements (at a minimum, record length, width, and depth)
Cardinal direction of the track (if you can discern heel and toes)
Temperature and weather conditions
Ground type (mud, sand, moss, etc.)
Surrounding flora and fauna
Any nearby geological features (ridges, streams, caves, etc.)
Other notable observations (unusual smells, sounds, or animal activity)
The more information you record, the easier it will be to evaluate the track later and compare it with other finds. If you’re just getting started in your research journey, practice these skills on the next deer or elk hoofprint you happen across!
Documenting a potential Sasquatch track is about more than just the footprint—it’s about capturing the whole story. By taking a mindful, methodical approach, you help contribute valuable data to the broader research community. So next time you spot something unusual in the mud, remember: slow down, look closely, and let the evidence speak for itself.

